
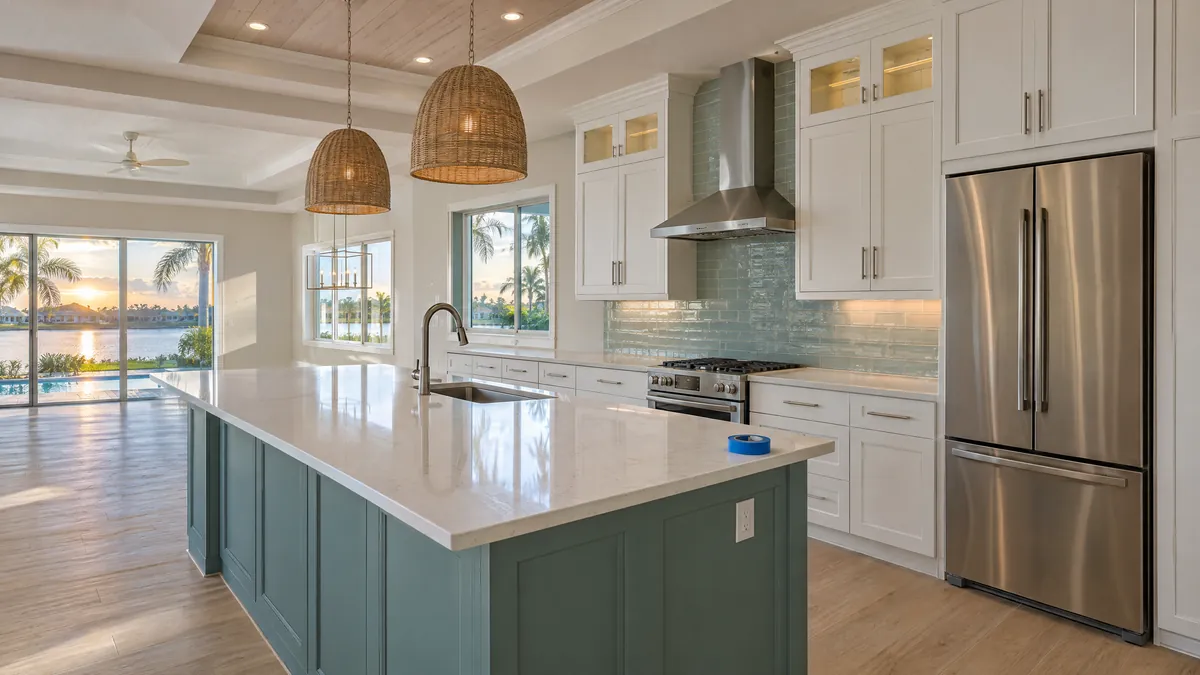
What the final walkthrough is for
Near the end of a new build, the builder schedules a walkthrough with you. Builders call it different things: a final walkthrough, a pre-closing orientation, a blue-tape walk. The idea is the same. You walk the finished house with the builder's representative, point out anything that is damaged, incomplete or not working, and those items go onto a written punch list for the builder's crews to fix.
This is your inspection, done by you. It is not the same as hiring a professional inspector, and it does not need to be technical. What it needs is a plan, enough time, and a record of everything you find. The checklist below is built for that.
Your purchase agreement controls the details: when the walkthrough happens, whether there is a second walk, and how unfinished items are handled at closing. Read those sections before the day comes, and ask your agent or attorney about anything unclear.
What to bring
- Blue painter's tape, if your builder uses the tape method. Some builders supply it; ask first, because tape can pull paint on fresh walls.
- Your phone, charged, for photos and notes.
- A copy of your selections or options sheet, so you can confirm colors, finishes, fixtures and appliance models match what you ordered.
- A small lamp or phone charger to confirm outlets have power. A plug-in outlet tester is a cheap upgrade.
- A flashlight, for looking under sinks and into closets and the garage.
- Time. Block out a morning or afternoon with no other appointments. A rushed walk misses things.
The room-by-room checklist
Work in the same order in every room: ceiling, walls, windows, doors, floor, then anything that plugs in, turns on or opens. Test things. Looking at a faucet tells you nothing; running it tells you a lot.
Outside, before you go in
- Walk the full perimeter. Look for cracked or chipped stucco, missing caulk around windows, doors, hose bibs and light fixtures, and paint overspray on windows or pavers.
- Check the driveway, walkway and patio for cracks, chips and stains.
- Look at the sod and landscaping. Note bare patches, dead plants, and any spot where water is standing near the house.
- Confirm gutters and downspouts, if installed, are attached and discharge away from the house.
- Open and close the garage door with the wall button and each remote. Wave something through the beam at the bottom sensors while it closes; it should reverse.
Entry, living areas and bedrooms
- Walls and ceilings: nail pops, drywall seams, dents, scuffs, uneven texture, paint touch-ups that do not match.
- Flooring: chips, cracks, scratches, gaps at transitions, grout missing or cracked, loose or hollow-sounding tile, carpet seams and stretch.
- Interior doors: each one should open and close without rubbing, latch without pushing, and stay put when left half open. Check hinges, stops and hardware finish.
- Trim and baseboard: gaps at joints and corners, missing caulk, nail holes not filled, damage.
- Windows: open, close and lock every one. Check screens, tracks and glass for scratches. Look for fogging between panes.
- Closets: shelves and rods installed and secure, doors on track.
- Lights and switches: turn on every fixture and fan. Try every switch, including the ones you are not sure about.
- Outlets: plug your lamp or charger into each one.
Kitchen
- Open every cabinet door and drawer. Check alignment, soft-close hardware if you paid for it, and the finish inside and out.
- Inspect countertops closely for chips, scratches, seams and sealant at the backsplash.
- Run hot and cold water at the sink. Run the disposal. Look under the sink with the water running for any drip.
- Turn on every appliance: each burner, the oven, the microwave, the range hood fan and light. Start the dishwasher on a short cycle if the builder allows. Open the refrigerator and freezer and confirm they are cooling.
- Confirm appliance models and finishes match your selections sheet.
Bathrooms
- Run every faucet and shower, hot and cold. Fill and drain each tub and sink and watch how fast it drains.
- Flush every toilet and watch it refill and stop. Gently push the toilet side to side; it should not move.
- Look under each vanity with the water running.
- Check tile, grout and caulk around tubs, showers and floors. Check glass doors for alignment and a good seal.
- Turn on each exhaust fan.
Laundry, systems and safety devices
- GFCI outlets: the U.S. Consumer Product Safety Commission's GFCI fact sheet lists kitchens, bathrooms and outdoor outlets among the locations where the electrical code calls for GFCI protection. Find each one (look for the test and reset buttons, and remember one GFCI can protect other outlets on the same circuit). The fact sheet gives a simple test: plug a lamp into the outlet and turn it on, press the GFCI's test button, and the light should go out. Press reset, and it should come back on. If it does not, put it on the list.
- AFCI devices: some receptacles and breakers have an AFCI test button. The InterNACHI Standards of Practice have inspectors test AFCI-protected receptacles with that button where possible. You can do the same, then reset.
- Heating and cooling: set the thermostat to cool and confirm cold air comes from each register within a few minutes, then try heat. Note any room that seems weak.
- Smoke alarms: press the test button on each one and listen for the alarm.
- Water heater: find it, confirm it is installed, and look for water on the floor or pan around it.
- Electrical panel: you do not need to open it. Confirm the breakers are labeled.
- Laundry: confirm water valves, drain and dryer vent connection are in place.
How to document each item
A punch list only works if the builder's crews can find the problem without you there. For each item:
- Number it and write one item per line. "Kitchen #4: upper cabinet left of range, door sits 1/8 inch lower than the one beside it" is fixable. "Cabinets look off" is not.
- Name the room and the exact spot. Use compass directions or landmarks: "north wall of primary bedroom, behind door."
- Take two photos: one wide shot so the location is obvious, one close-up of the problem. Your phone records the date.
- Mark it, with tape if your builder uses tape, so the trades can find it.
- Get the builder's written list. Before you leave, compare it to your own and make sure every item made it on. Ask for a copy, and send a short email the same day that attaches your list and photos. Now there is a dated written record.
The InterNACHI final walk-through checklist is a useful free printable if you like a paper form. It is written for resale homes, so add rows for the new-construction items above.
How the punch list works after the walk
The builder's representative typically assigns each item to the right trade: the painter, the flooring installer, the cabinet crew and so on. Ask these questions before you leave the walkthrough:
- Which items will be complete before closing, and which will be scheduled after?
- Will there be a second walk to confirm the repairs? If so, when?
- How will items still open at closing be documented, and who signs off?
On the second walk, go down your numbered list and check off each item in person. Photograph the fixed items too. Anything still open should be written into whatever closing document or builder form your contract calls for. Keep your list, your photos and the builder's list together; they become the first pages of your warranty file.
Where a buyer's walk stops
This checklist covers what you can see and operate. It does not cover the attic, the roof, or how the plumbing, wiring and ductwork were put together out of sight. That is where a professional inspection of the finished home earns its fee, especially when the report arrives before your walkthrough and you can add its findings to the punch list. For the kinds of things inspectors tend to flag on new builds, see what inspectors look for in brand-new Florida homes.
If you are still working out when that inspection should happen relative to your walkthrough and closing, our guide to timing an inspection on a Lakewood Ranch new build walks through the order.
What to do next
- Read the walkthrough and closing sections of your purchase agreement this week.
- Pack the kit: tape (if allowed), phone, selections sheet, lamp or tester, flashlight.
- Walk every room in the same order and test everything that turns on, opens or drains.
- Number, locate and photograph every item, then send your list to the builder in writing the same day.
- Keep the whole file. You will want it if anything comes back after closing.